Badges
Add a New Badge
-
Select ‘Badges’ option from the Admin Panel on the left side of the interface.
-
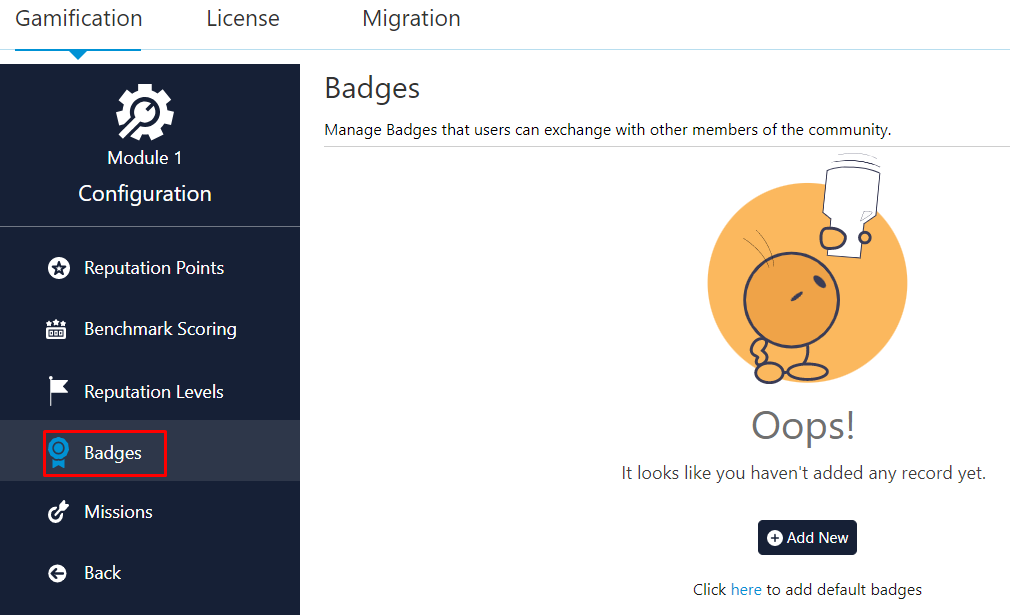
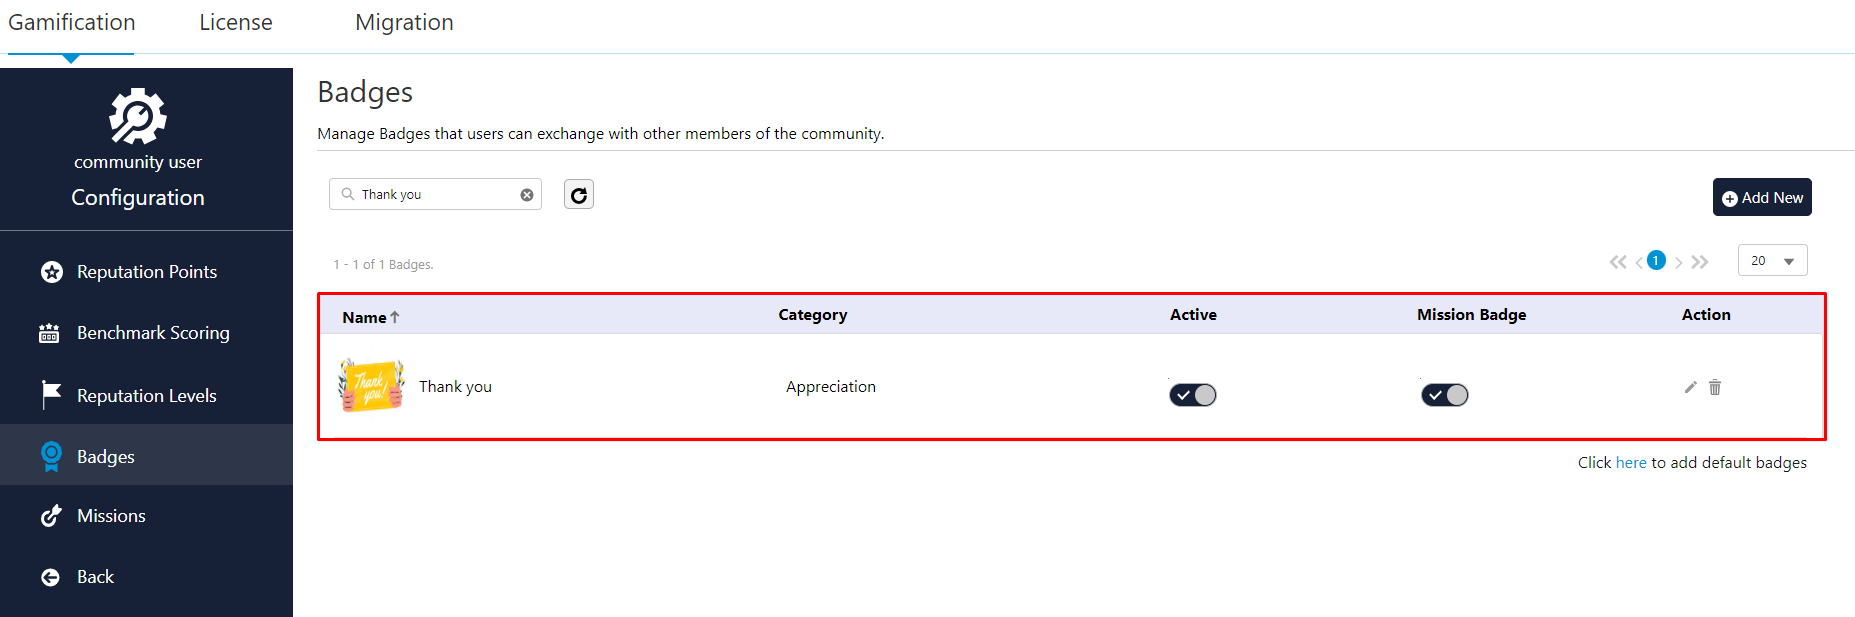
To include the badges that come with the product, the user should click on the "click here" button.

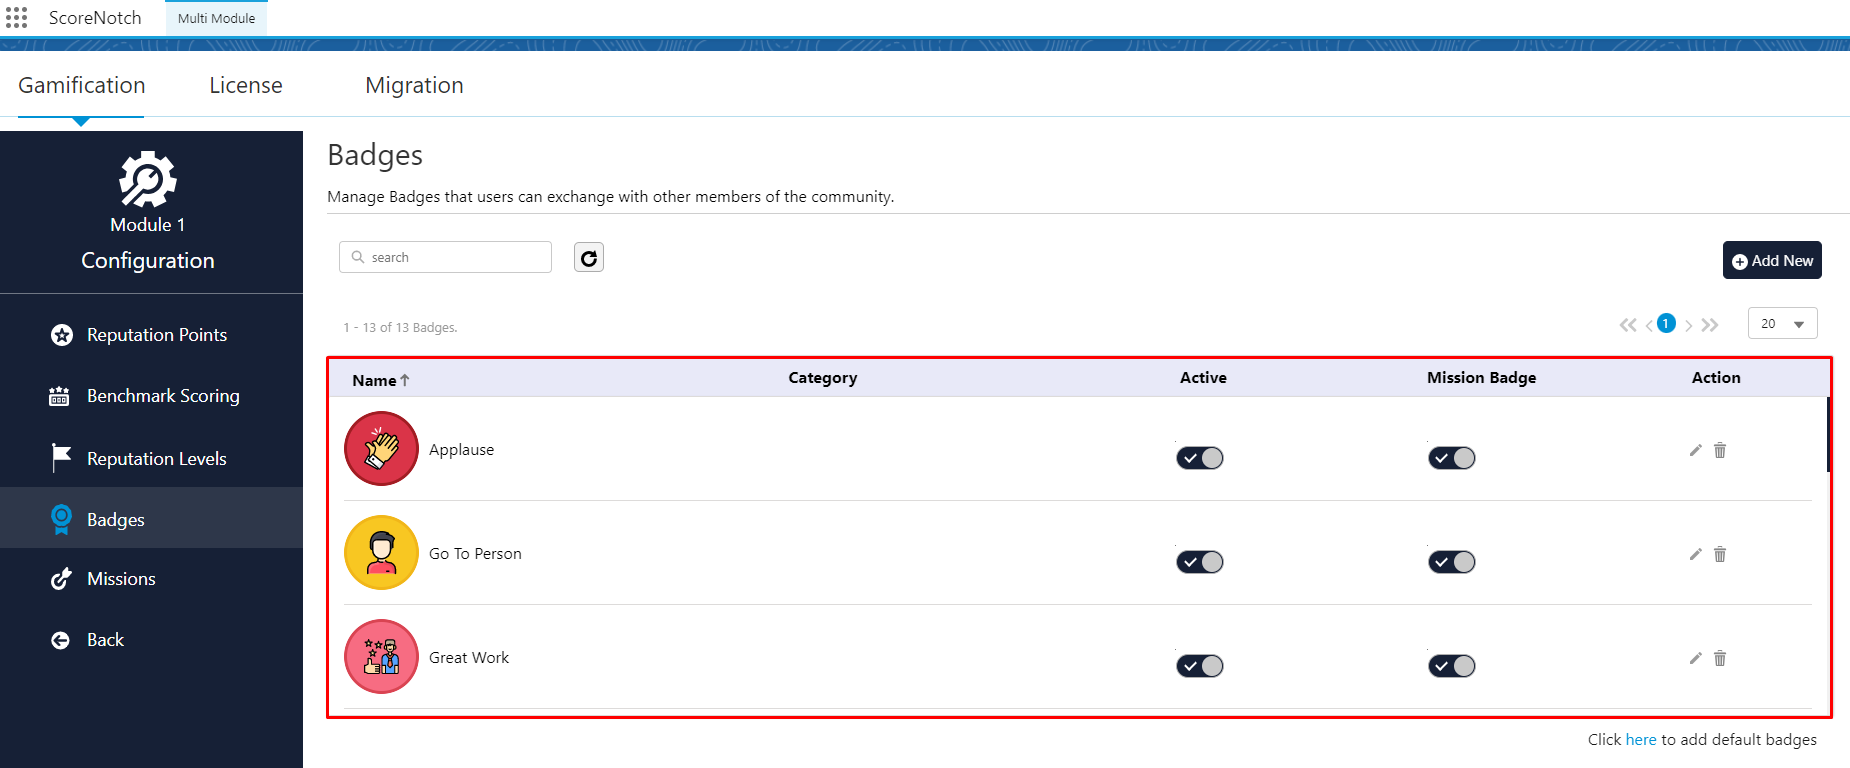
See the reference screenshot, one can view the badges that are currently available.
-
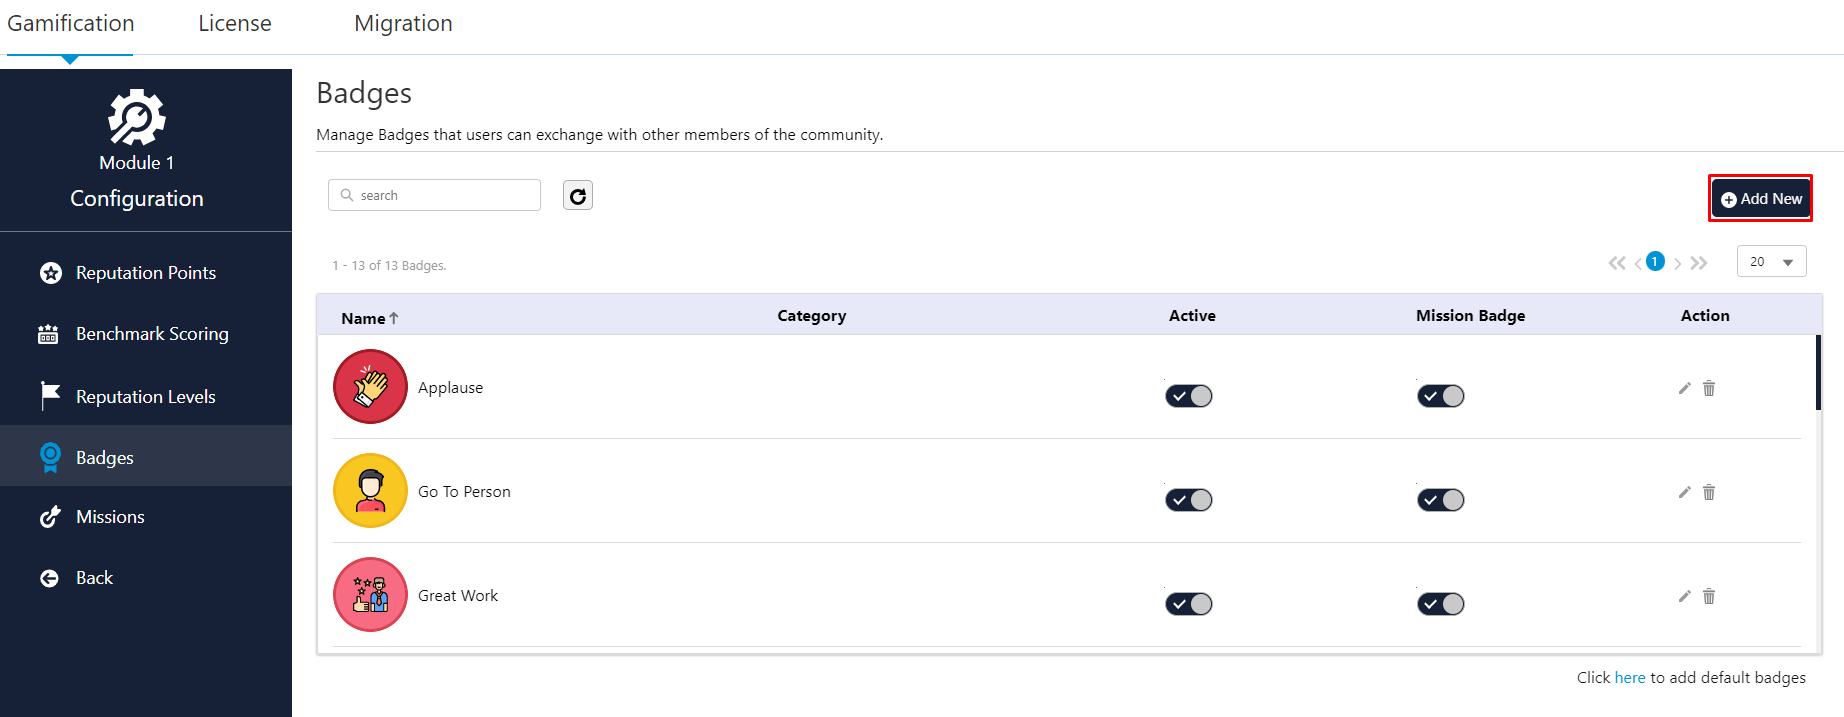
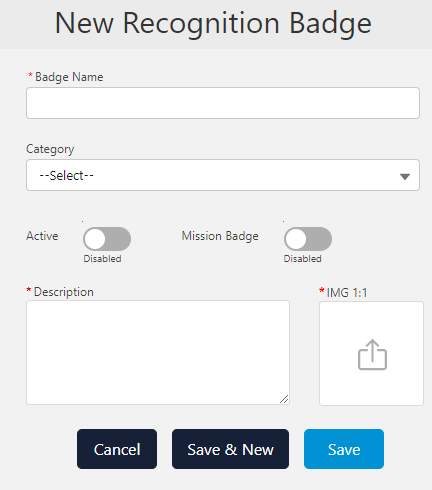
Click the “Add New” button to add the new badge.
-
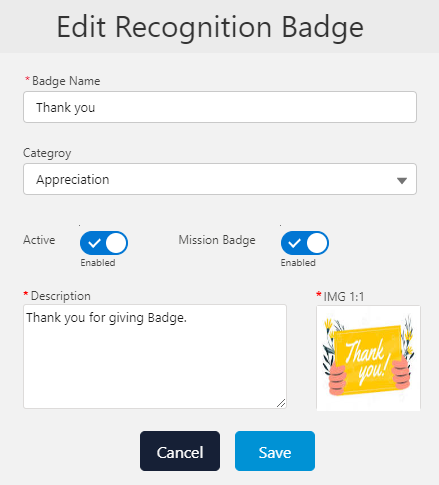
Fill in the following details.
-
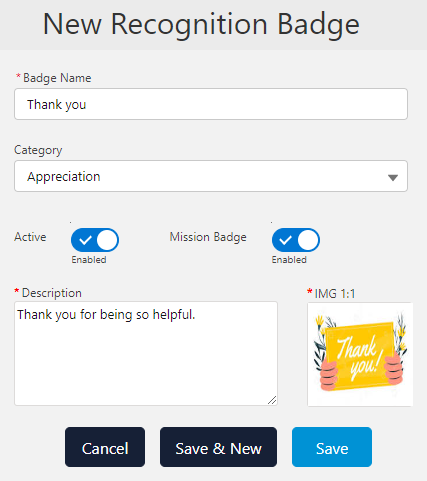
Badge Name: Enter the Name that will be visible under the Badge components on the Experience Site.
-
Category: Choose the category in which you want to create a Mission.
-
Badge Status: If you want to activate the badge right away, enable the Active toggle switch. Disable it if you’re just adding a badge for now.
-
Mission Badge: Enable the Mission Badge toggle switch if you want the badge to act as a mission badge.
-
Description: Enter a detailed description for the badge.
-
Upload the image.
-
Search for a Badge
-
To search for an existing badge on the list, type the badge name in the search box as shown below.
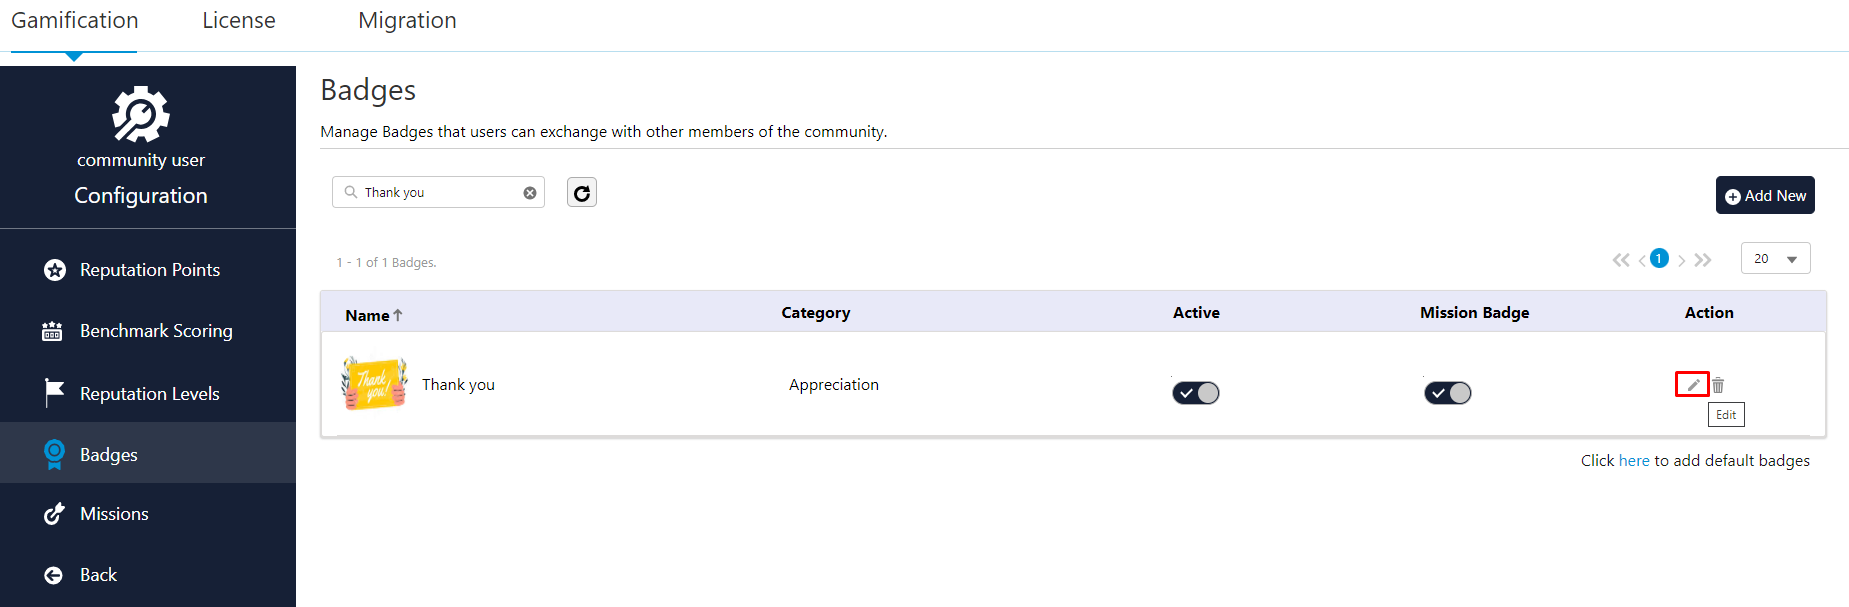
Edit an Existing Badge
-
Click the “Pen” icon to edit or update existing badges and change the respective fields.
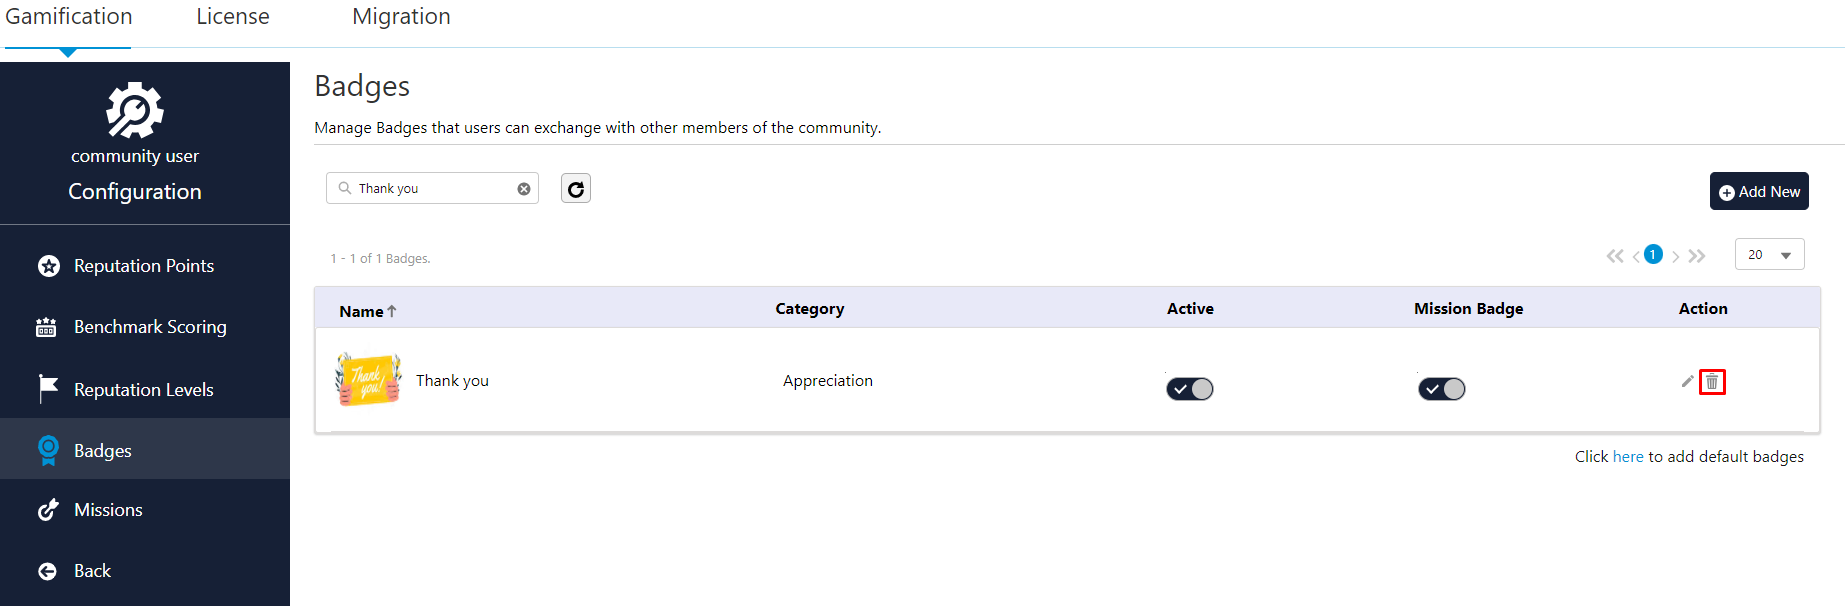
Delete an Existing Badge
-
Click the “Bin” icon to delete the Badge.